Introduction to Automotive Body Fillers
Automotive body fillers are essential materials utilized in the repair and restoration of car exteriors. They play a crucial role in providing a smooth and even surface, allowing for a flawless finish after collision repairs or modifications. These fillers are typically used to correct imperfections such as dents, scratches, and rusted areas, ensuring that the vehicle not only looks good but is also protected from further damage.
There are various types of automotive body fillers available on the market, each designed for specific applications. The most common types include polyester and epoxy fillers. Polyester fillers are widely used due to their ease of application and affordability. They are ideal for filling in small to medium imperfections and are often sanded down and painted over, making them suitable for most car body repair tasks.
On the other hand, epoxy fillers offer superior adhesion and durability. This makes them particularly effective for more extensive repairs or when working with materials like fiberglass. These fillers can withstand harsher environmental conditions, thus offering a reliable long-term solution. Additionally, some specialized fillers are formulated to address specific challenges such as heat resistance or flexibility.
Understanding when and why to use automotive body fillers is crucial for achieving the best outcomes in car bodywork. Fillers are often applied prior to painting, as they create a strong foundation for the paint to adhere to, resulting in a more professional and long-lasting finish. Furthermore, the right choice of filler can significantly enhance the longevity and performance of the repairs. As we delve deeper into this guide, we will explore the best automotive body fillers available and how to select the appropriate one for individual repair needs.
Top Automotive Body Fillers on the Market
When it comes to repairing your car’s bodywork, selecting the right automotive body filler is crucial for achieving a seamless finish. Below is a curated list of some of the best automotive body fillers currently available, evaluated based on ease of use, drying time, adhesion, and final finish.
Evercoat Rage Gold is widely regarded as one of the best in its category. This premium filler is known for its exceptional adhesion and easy sanding properties, making it a favorite among professionals and DIY enthusiasts alike. It dries quickly, often within 20-30 minutes, allowing for faster project completion. Additionally, its smooth finish is perfect for both small and larger repairs.


3M Bondo Body Filler is a reliable choice for those seeking a budget-friendly option. This filler offers excellent adhesion and is suitable for a variety of surfaces, including metal, fiberglass, and wood. It is easy to mix and apply, and dries to a hard finish in about 30 minutes. Its versatility makes it a staple in many automotive repair kits.


U-POL Car Body Filler is another noteworthy product that provides a great balance of quality and cost. Known for its user-friendly application, U-POL offers a smooth finish and superior adhesion properties. It dries within 25 minutes, making it an efficient option for those looking to complete repairs quickly without compromising on quality.


Another excellent option is the Dynatron Dyna-Glass Body Filler, particularly praised for its compatibility with fiberglass. This filler is specially formulated for fiberglass repair and provides a strong bond, ensuring longevity and durability. It has a longer working time of about 60 minutes, catering to those who may need additional time for detailed work.


These automotive body fillers represent some of the best options on the market today. By considering their unique features and ideal uses, readers can make informed decisions that best suit their specific repair needs.
How to Properly Apply Automotive Body Fillers
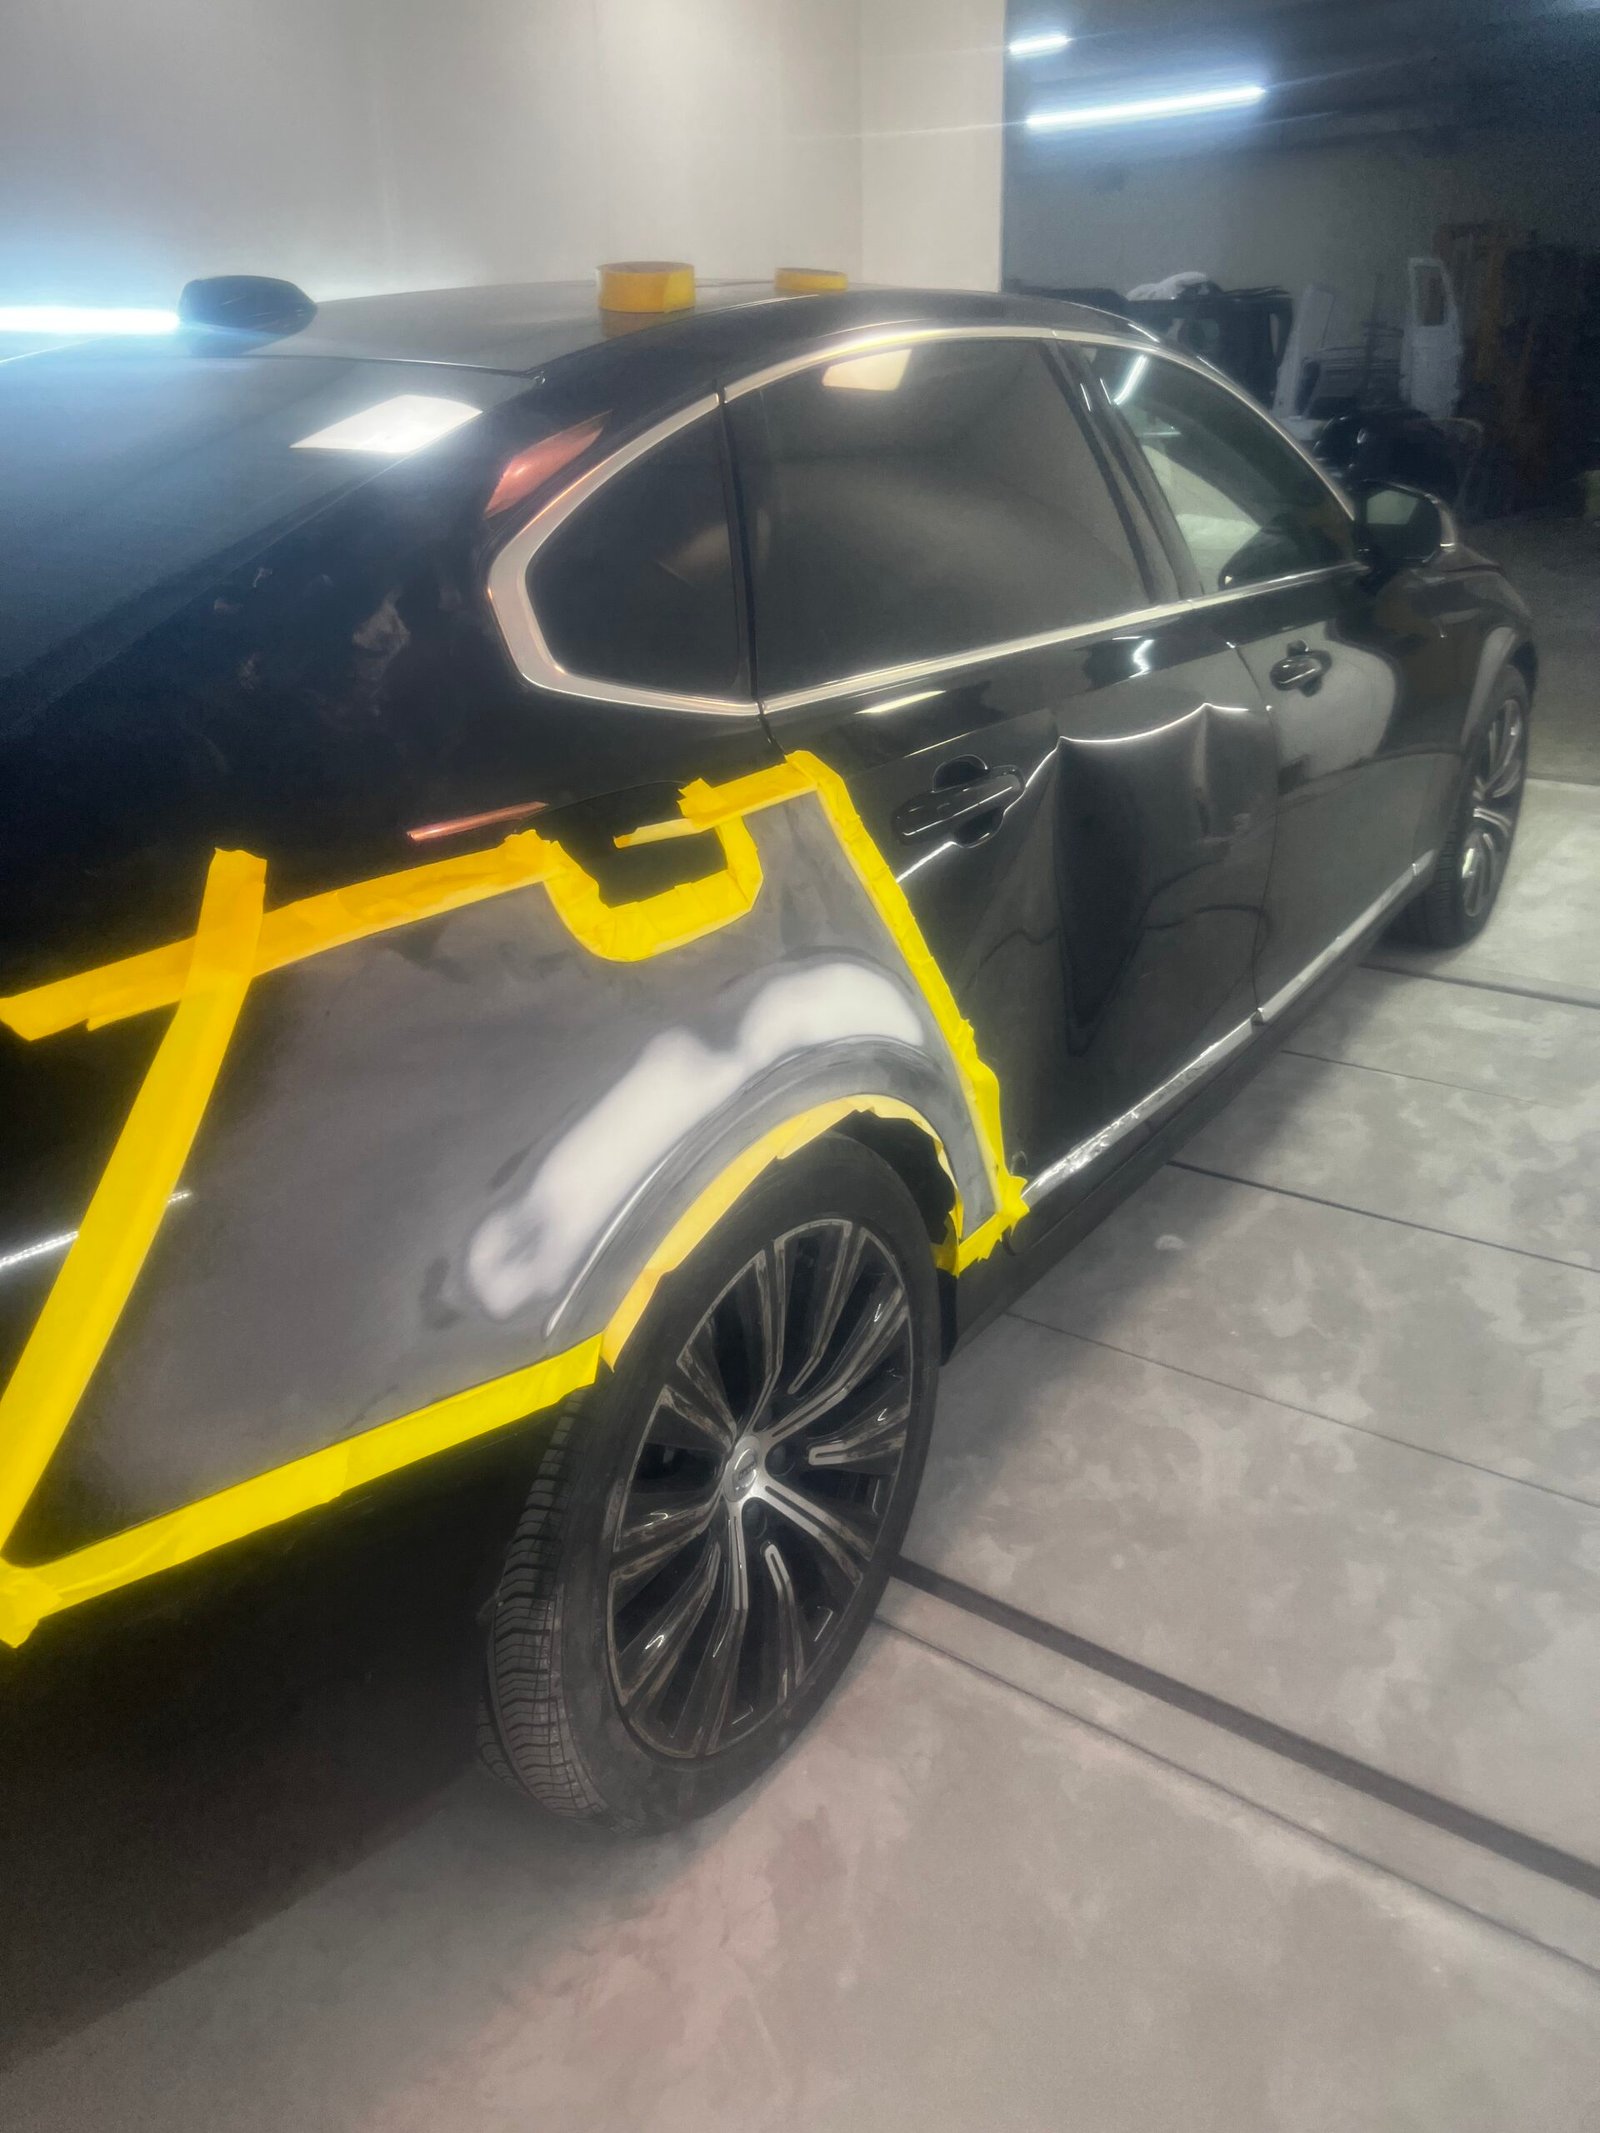
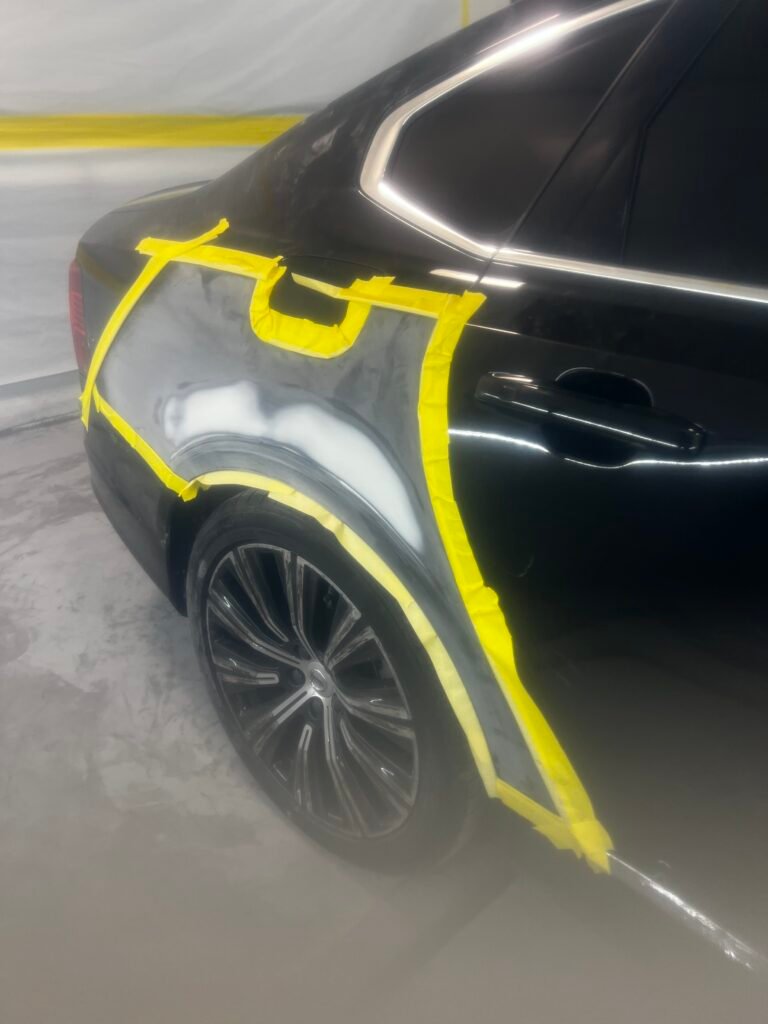
Applying automotive body fillers effectively requires careful preparation and technique to achieve the desired finish. The first step in the process is surface preparation. Begin by cleaning the area thoroughly to remove any dirt, grease, or previous paint. For best results, sand the surface using a suitable grit sandpaper, typically between 80 and 120 grit, to create a rough texture that will help the filler adhere better. After sanding, remove any dust with a clean cloth or air blower, ensuring your workspace is free from debris.


Next, it is crucial to mix the automotive body filler properly. Most fillers come in two parts: the filler itself and a hardener. Follow the manufacturer’s instructions for the correct ratio, as improper mixing can affect the curing time and finish. Use a clean mixing board and a plastic or metal spatula for combining the two components. Once mixed, the filler should have a uniform consistency and be free of lumps to ensure a smooth application.
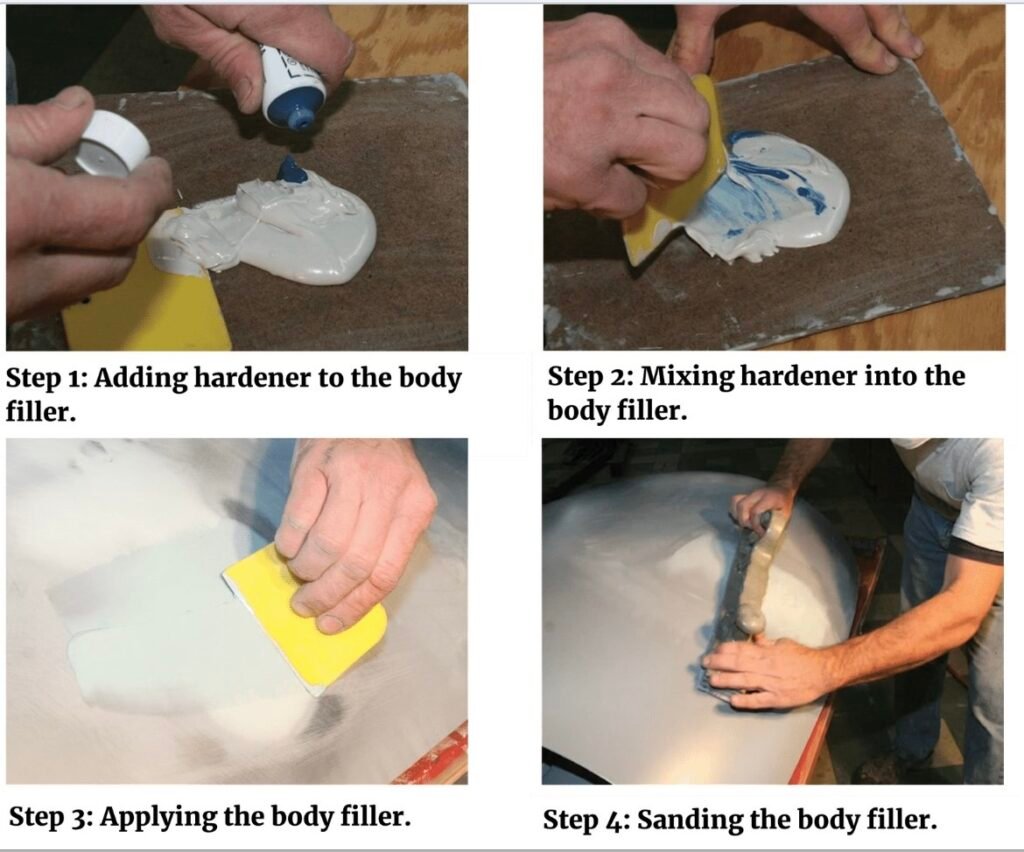
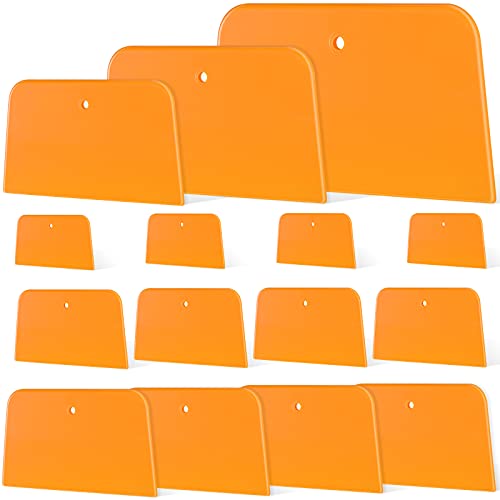
When applying the filler, use a putty knife or a flexible spreader to work the compound into the surface. Start from the center of the damaged area and spread outward, keeping the layer thin and even. It is advisable to apply the filler in multiple layers if necessary, allowing each layer to cure before applying the next. This method helps to prevent air bubbles and sagging. Once the filler has fully cured, usually within 30 minutes to an hour depending on the product, sand the area with finer grit sandpaper (around 220 grit) until it is smooth and flush with the surrounding surface.


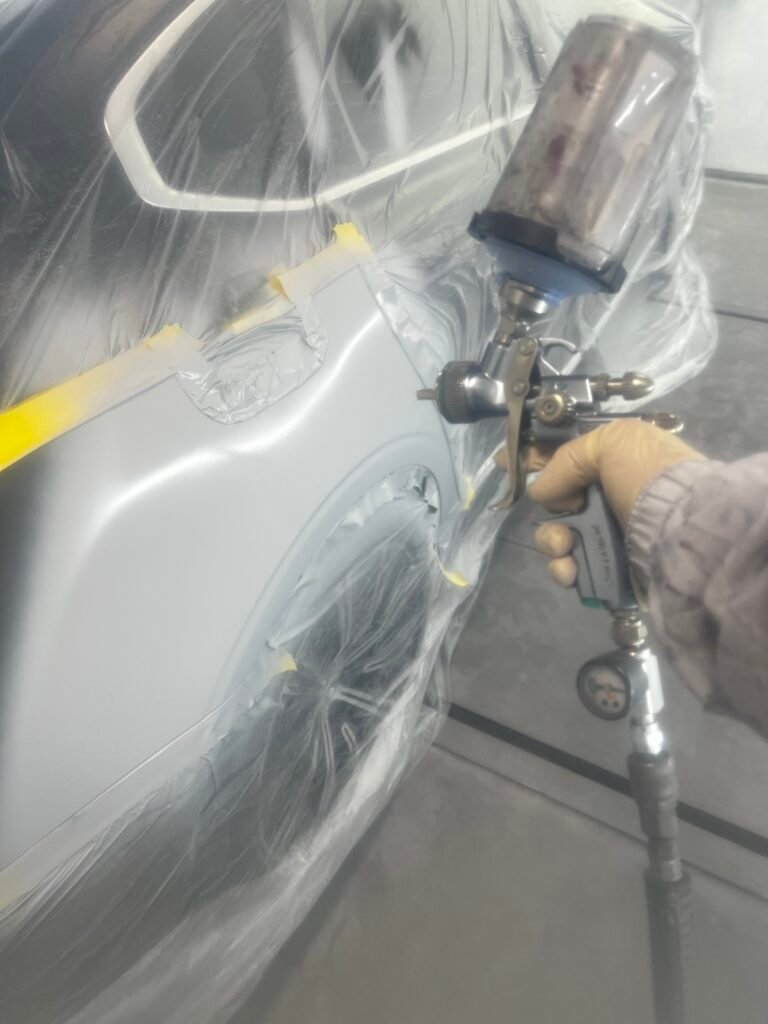
Finally, after achieving a smooth finish, you can apply primer and paint to the area as needed. Remember to wear appropriate safety gear, including gloves and a mask, to ensure your protection during the entire process. Proper application of automotive body fillers not only enhances the aesthetic of your vehicle but also prolongs its durability.
Common Mistakes and Troubleshooting Tips
When working with automotive body fillers, several common mistakes can hinder the overall finish of your repairs. Awareness of these pitfalls can help you avoid them and ensure a smoother process. One prevalent issue is the formation of air bubbles within the filler. This typically occurs when the filler is mixed too quickly or inadequately. To minimize air entrapment, it is recommended to mix the compound slowly and methodically, ensuring that all components are incorporated without agitation that can introduce air.
Another frequent mistake is uneven application. This often leads to a lumpy surface that requires excessive sanding and can detract from the final appearance of your vehicle. To achieve a uniform layer of filler, it is crucial to use a clean, flexible applicator. Apply the filler in thin layers and work systematically, overlapping strokes where necessary. This technique helps to create an even surface that resembles the vehicle’s original contours.
Sanding errors can also compromise the quality of your work. Over-sanding can thin the filler and compromise its strength, while under-sanding may leave imperfections that affect the overall look. Use a variety of sandpaper grits, starting coarse and progressively moving to finer grits. This approach allows for effective shaping followed by fine smoothing. An additional tip is to regularly check your progress by wiping the surface clean; this reveals any high spots or inconsistencies that require further attention.
If you encounter difficulties during the application or finishing stages, troubleshooting becomes essential. For instance, if the body filler hardens too quickly or doesn’t set properly, double-check the ratio of hardener to filler, as an incorrect mix can lead to such issues. Overall, applying best practices and being mindful of common mistakes will enable you to achieve professional-quality results with automotive body fillers.
Leave a Reply