Preparing Your Car for a Paint Job
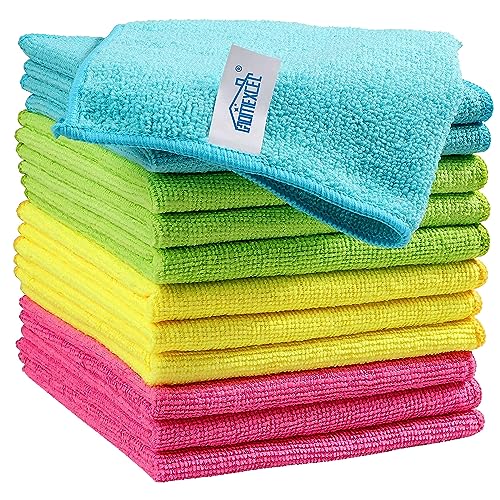
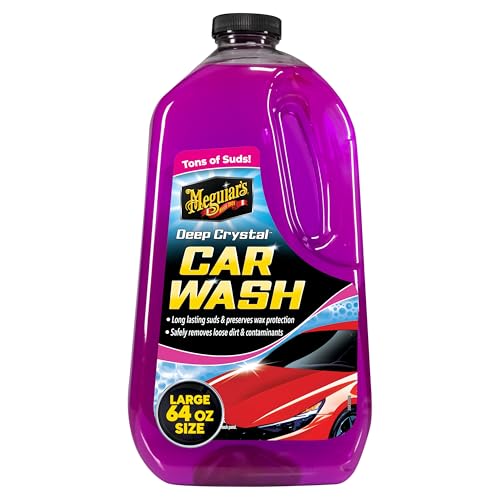
Proper preparation is vital for achieving a successful DIY paint job on your car. The first step is to thoroughly wash the vehicle to eliminate any dirt, grime, or contaminants that could interfere with the paint’s adhesion. Utilizing a high-quality car soap and a microfiber wash mitt, clean the entire surface, including door jams and wheel wells. Rinse thoroughly with water to avoid any soap residue and dry the vehicle with a clean microfiber towel.


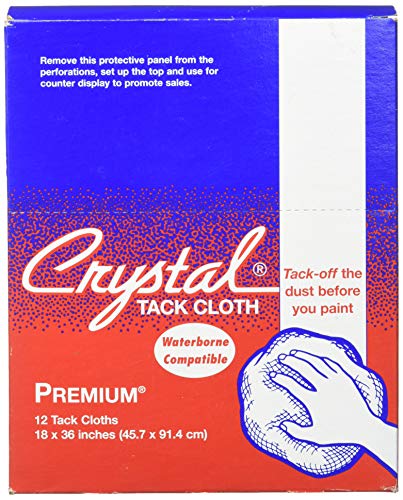
Finally, it is advisable to lightly sand the entire area that will be painted using fine-grit sandpaper. This step helps the new paint adhere better to the surface, resulting in a more durable and visually appealing finish. Cleaning the surface again after sanding to remove dust or debris is crucial before the paint application. Thorough preparation will lay a solid foundation for your car’s new look.

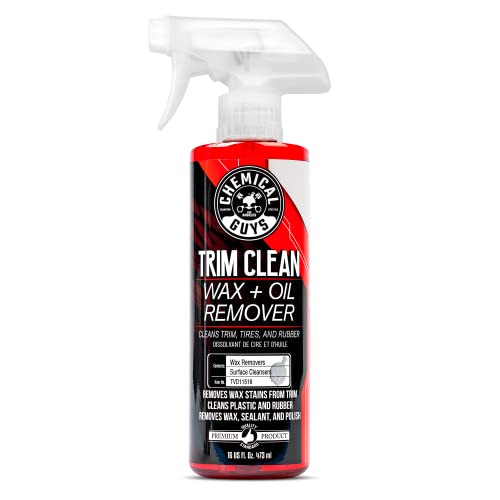
When it comes to tools, having the right equipment is essential for a successful application. In addition to aerosol spray cans, you will need sandpaper to prepare the surfaces, ensuring a smooth finish by removing old paint and imperfections. A primer is also necessary, as it promotes adhesion and enhances the durability of the paint. Protecting your surroundings is vital; therefore, a drop cloth is recommended to catch any overspray. Finally, personal protective equipment (PPE) such as gloves and masks should not be overlooked, as they ensure safety by minimizing exposure to paint fumes and reducing the risk of skin irritation during the painting process.
Choosing the Right Paint and Tools
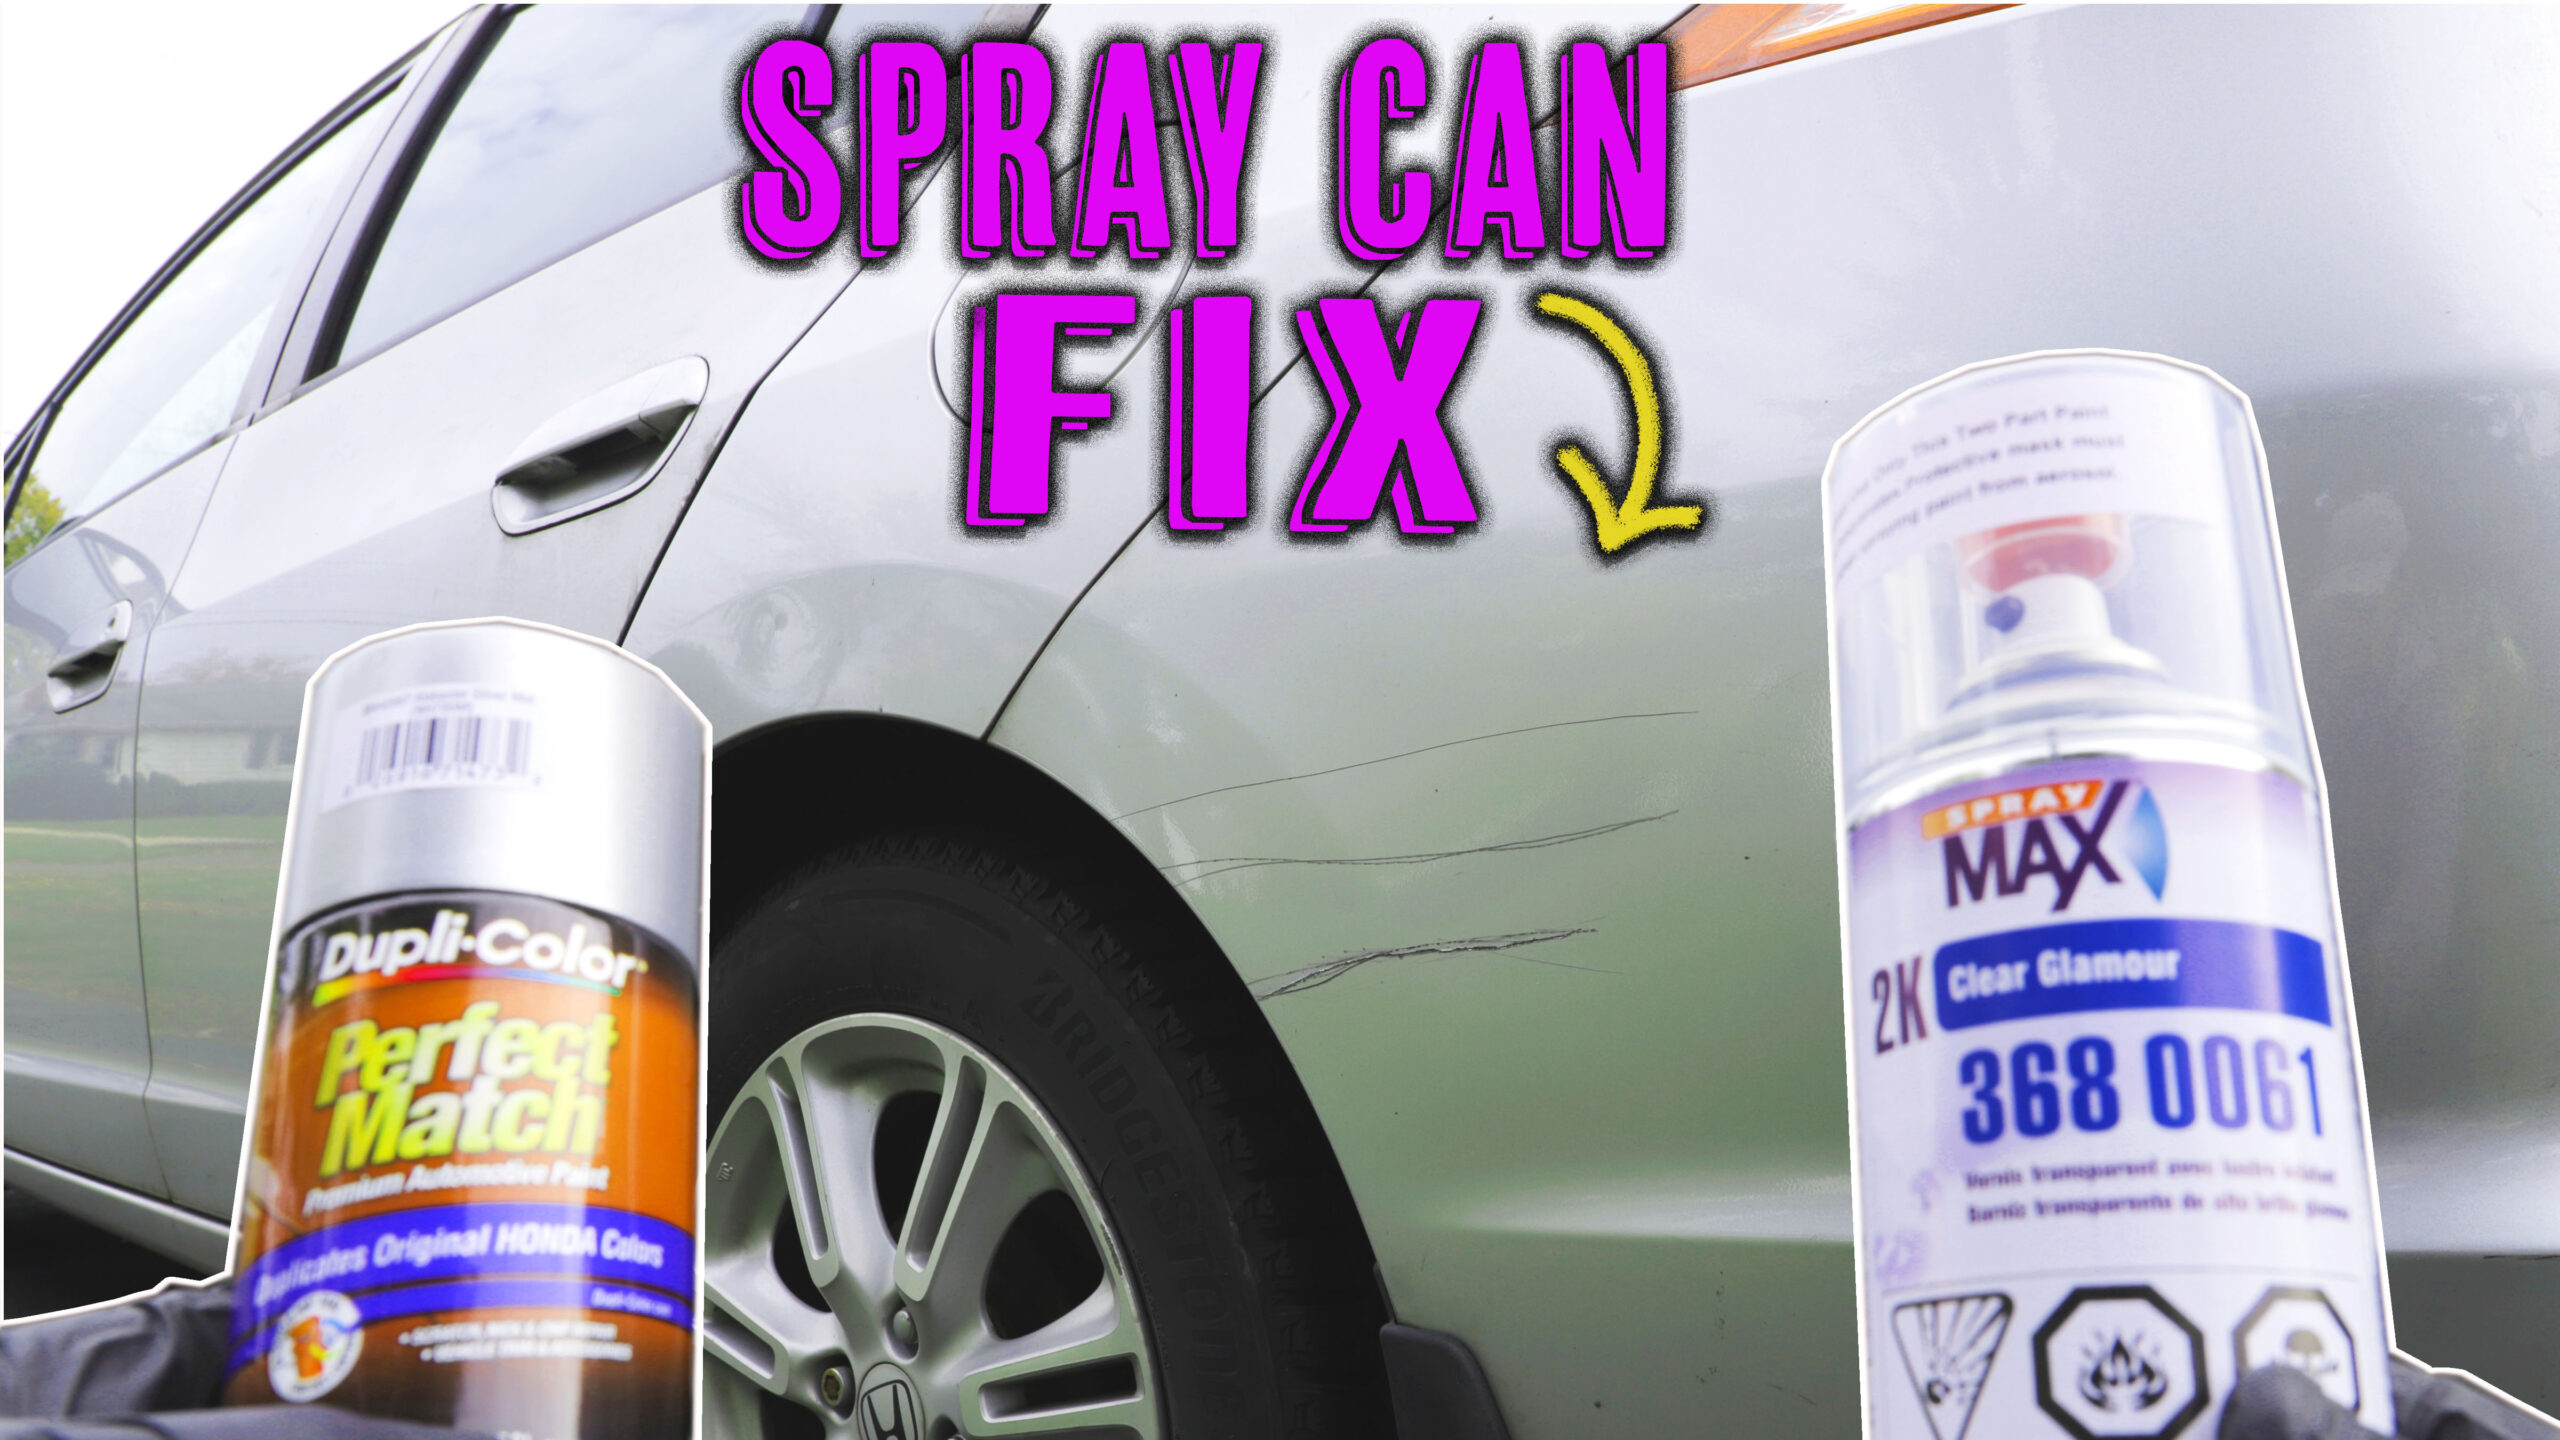
When embarking on a DIY car paint job using aerosol spray cans, selecting the appropriate paint and tools is crucial for achieving a professional finish. The market offers various types of aerosol spray paints specifically designed for automotive applications, ranging from acrylic to enamel. Acrylic spray paints are known for their quick drying times and ease of application, while enamel paints provide a durable and glossy finish that is resistant to chipping and fading. Each type of paint has its advantages, and the choice largely depends on the desired outcome.


1. PREPERATION
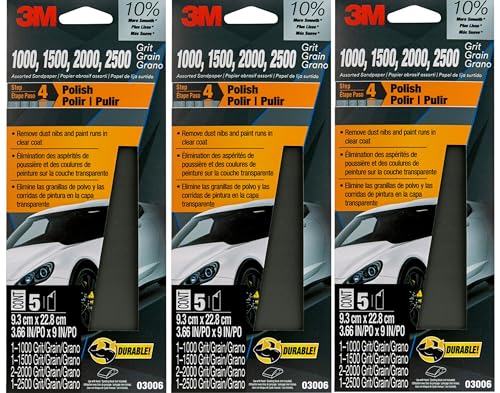
Now, let’s talk tools. You’ll need sandpaper (maybe some grades that range like a jazz band from coarse to fine), a sanding block, and a little elbow grease. A sander can speed up the process, but remember, good old-fashioned manual sanding can help you preserve your quirky sense of touch—some might say it’s an art! Who knows, you might even surprise yourself with your new-found hand-painting skills. Now depending on the damage that your fixing, will depend on the grit sandpaper you’ll need to sand the panel. The most common sand papers to use in car preperation range from 600grit all the way to 1000grit.


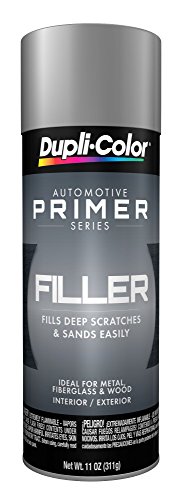
2. PRIMER, Protect Your Investment
Applying primer to your car’s repair isn’t just about making it look pretty (but hey, that’s a bonus!). Primer serves as a protective barrier against rust, moisture, and other nasty elements just waiting to ruin your hard work. If you want your car to look good and last a long time, a well-applied coat of primer helps seal the deal. It keeps your vehicle protected and allows the topcoat to adhere better. Think of it as the superhero cape for your car’s paint job.


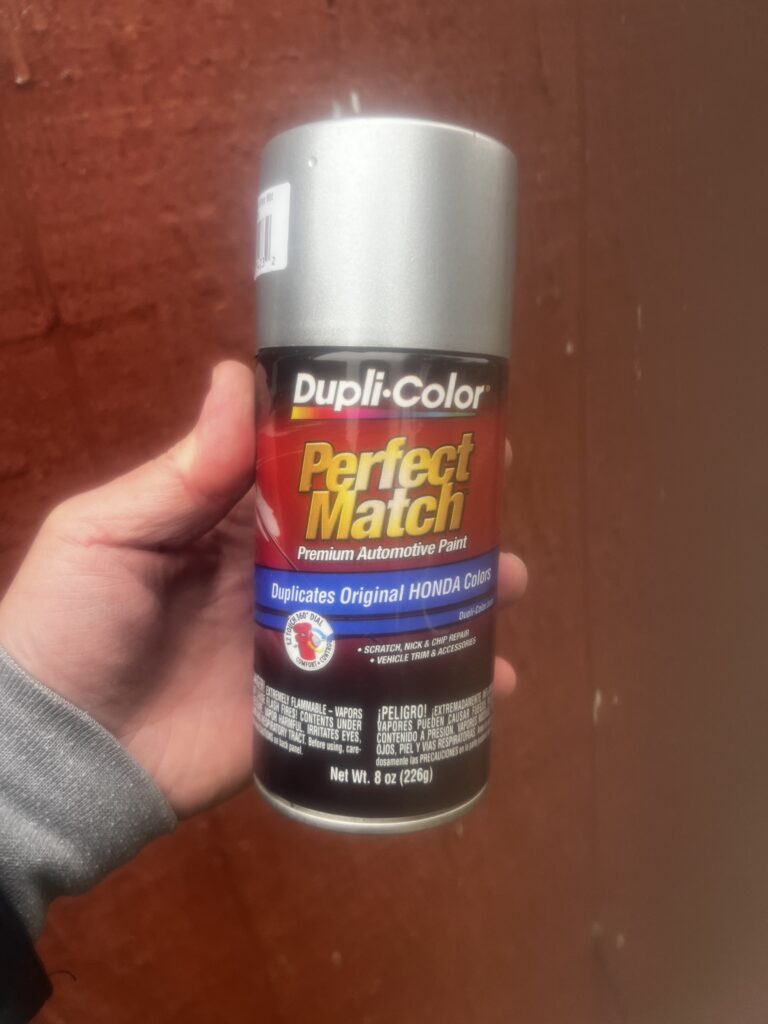
3. PAINT
Now these are only some of the options for OEM paint colors. Always check your cars color code to make sure you buy the color that matches your cars paint. Most color codes can be found in the cars door jam or the door post. Additionally, finishes play a significant role in the aesthetic appeal of the vehicle. A gloss finish offers a It is essential to consider the car’s original color and desired end result when making these selections, as this will guide you toward the most compatible products.


When it comes to tools, having the right equipment is essential for a successful application. In addition to aerosol spray cans, you will need sandpaper to prepare the surfaces, ensuring a smooth finish by removing old paint and imperfections. A primer is also necessary, as it promotes adhesion and enhances the durability of the paint. Protecting your surroundings is vital; therefore, a drop cloth is recommended to catch any overspray. Finally, personal protective equipment (PPE) such as gloves and masks should not be overlooked, as they ensure safety by minimizing exposure to paint fumes and reducing the risk of skin irritation during the painting process.


Applying the Paint: Techniques and Tips
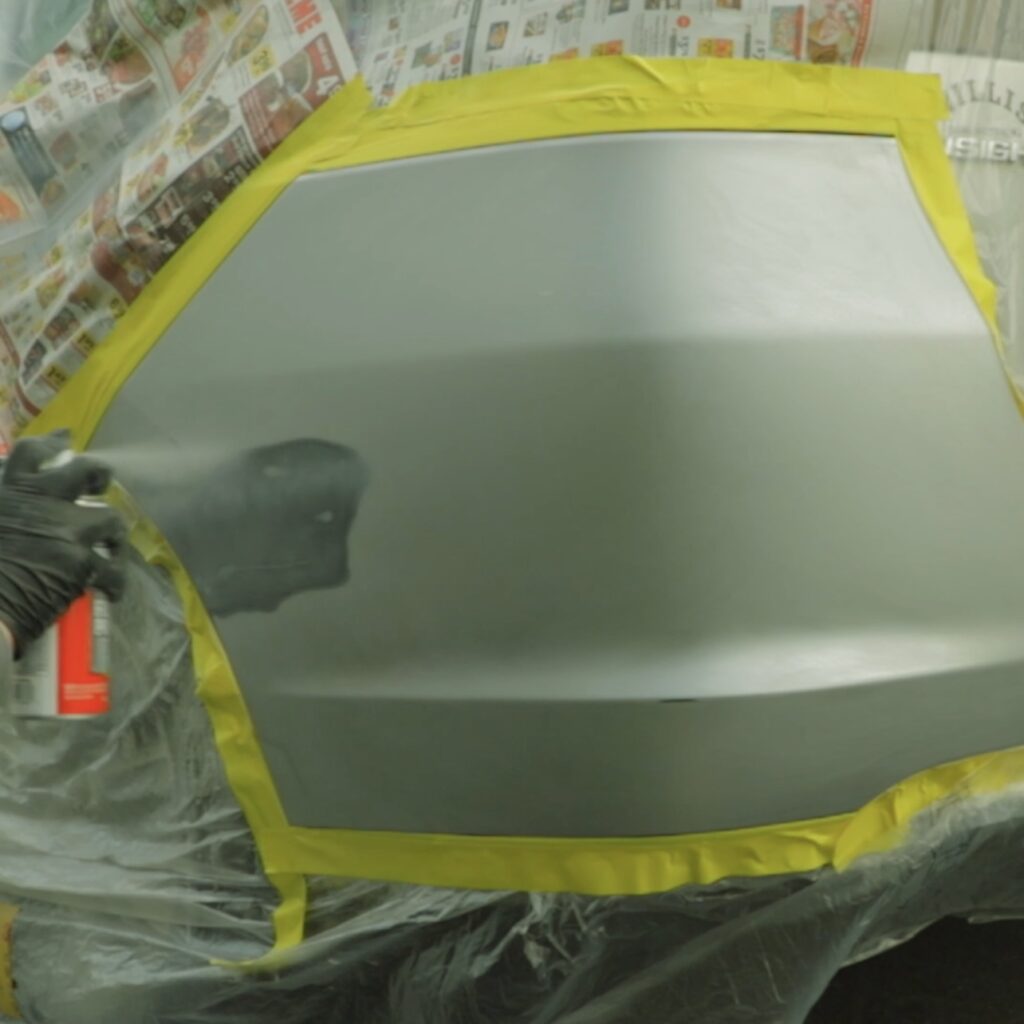
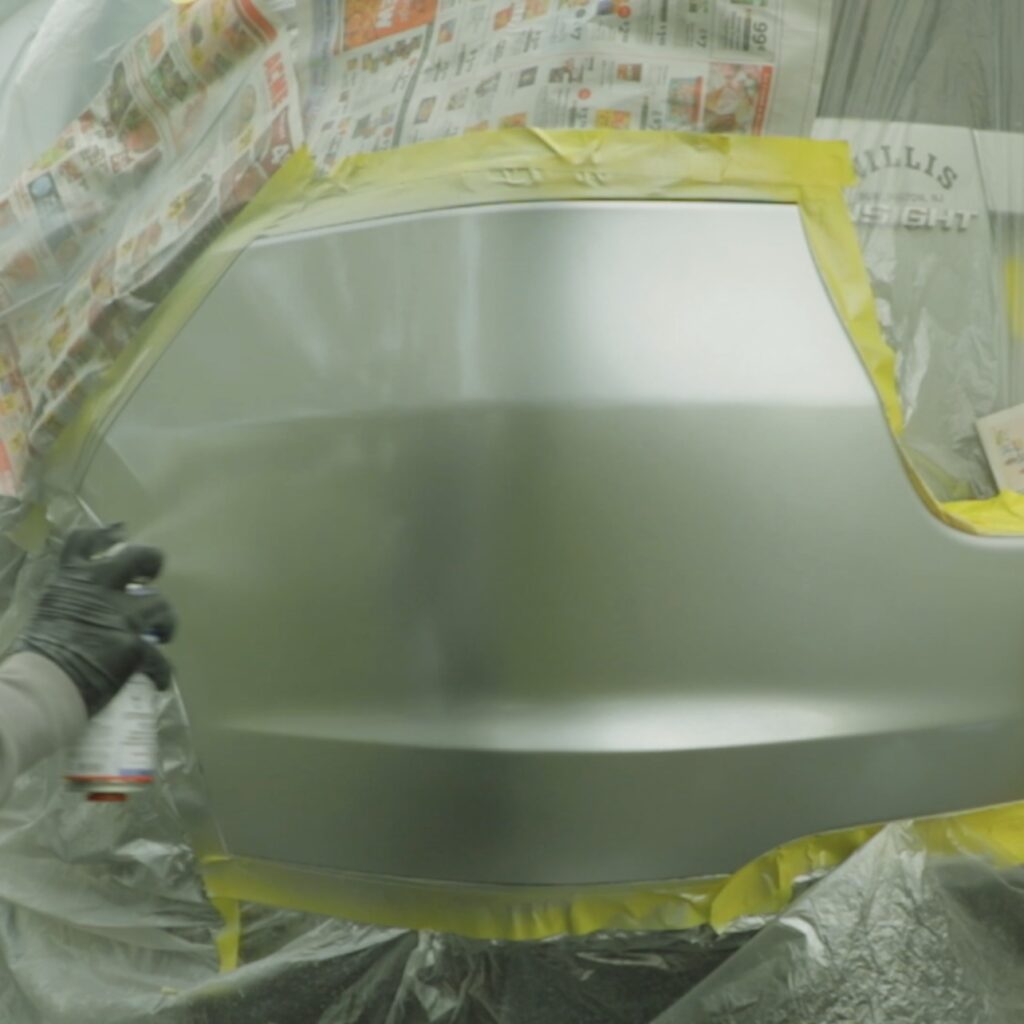
Successfully applying aerosol spray paint to your car requires careful attention to technique and conditions. Begin by holding the spray can approximately 6 to 12 inches away from the surface. This distance is crucial for achieving an even distribution of paint without creating drips or pooling. It is recommended to use a consistent, sweeping motion while applying the paint. Start at one end of the area to be painted and move across in a horizontal or vertical line, overlapping each stroke by about 50%. This overlapping technique ensures uniform coverage and minimizes the risk of streaks.
When it comes to the application, remember that multiple thin coats yield better results than a single heavy coat. Applying thick layers can lead to runs and an uneven finish, whereas thinner applications allow for better adhesion and a smoother overall look. Typically, it is advisable to apply 2 to 4 thin coats, allowing adequate drying time between each. Most spray paints recommend a drying time of approximately 20 to 30 minutes, but environmental variables such as temperature and humidity can influence this. Warmer temperatures and lower humidity levels generally facilitate quicker drying times.
Additionally, consider conducting your painting in a controlled environment. An outdoor area with minimal breeze or an indoor space with proper ventilation can help maintain the quality of your paint job. Be mindful of potential contaminants, such as dust or insects, that may interfere with the finish. Before commencing the application, check the weather forecast; high humidity or temperatures can lead to issues like bubbling or poor drying. By adhering to these techniques and tips, DIY enthusiasts can ensure a professional-grade finish on their car, ultimately enhancing its aesthetic appeal. Another tool that can be helpful with outdoor painting applications is a heat gun. A heat gun can help dry the paint depending on the temperature. Obviously if the temperature is hot outside you will not need a heat gun but in come cooler climates a heat will come handy.


Finishing Touches and Maintenance
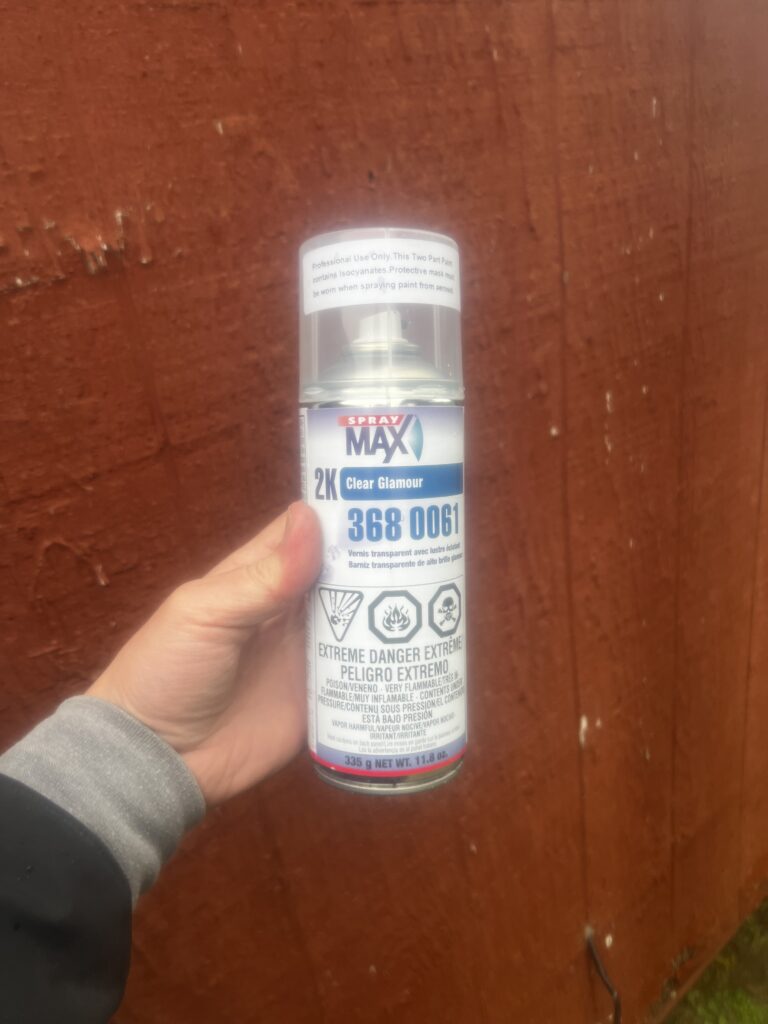
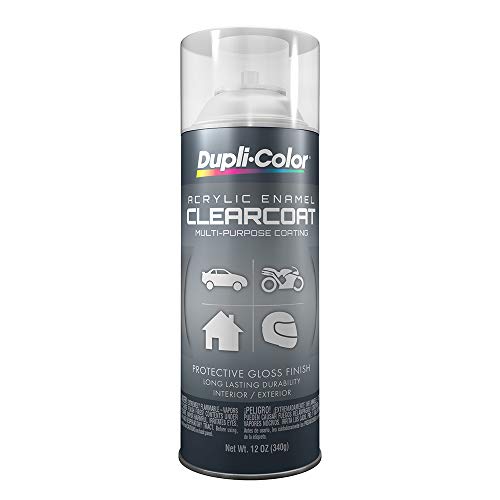
Once you have completed your DIY paint job using an aerosol spray can, the finishing touches play a crucial role in enhancing both the durability and appearance of the paint. A key step is applying a clear coat, which serves as a protective barrier against environmental elements. This additional layer helps prevent UV damage, the impact of dirt, debris, and other harmful factors that can degrade the paint over time. It is advisable to wait for the base paint to dry completely before applying the clear coat, following the manufacturer’s instructions for the best results.


After the clear coat has been applied and has cured appropriately, polishing techniques come into play to achieve a high shine. Utilizing a fine-grit polishing compound can help refine the surface, bringing out a glossy finish. It is recommended to use a soft cloth or a polishing machine for an even application. Be gentle during this process to avoid marring the surface, allowing the polished coat to contribute to the overall aesthetic of your newly painted vehicle.
Curing the paint properly is critical to ensure longevity. Allow the paint to cure in a well-ventilated area, ideally avoiding direct sunlight, for a specified time as indicated on the paint can. This ensures that the paint adheres fully to the surface, thereby prolonging its life. Beyond curing, regular maintenance is essential. Adopting proper washing techniques is crucial; using a gentle soap and soft cloth will help avoid scratches and other damages to the finish. Avoid automated car washes, as abrasive materials can harm the clear coat. Instead, hand wash your vehicle and dry it with microfiber towels for the best results.


In conclusion, by incorporating these finishing touches and adhering to effective maintenance practices, you will ensure that your DIY paint job not only looks exceptional but also stands the test of time, maintaining its vibrant appearance for years to come.
And don’t forget to take a step back and admire,” YOUR CARS NEW LOOK.”
Leave a Reply